Sitecore CMS Migration to WordPress: A How-to Guide
A website is a brand’s own platform where it educates its audience and converts them into paying customers. As the demands and expectations of consumers evolve, it has become important for businesses to craft and deliver engaging digital experiences on their platforms.
This makes it essential for businesses to build their site on a robust, secure, scalable, and versatile content management system (CMS).
WordPress—due to its open-source nature, global community, and vast plugin ecosystem—has established itself as the CMS solution for businesses of all sizes. Sitecore, although a great option due to features like the Sitecore Experience Platform and Sitecore Partner, often fails to provide such advantages despite charging a hefty price.
Understanding this, various businesses may be compelled to seek Sitecore to WordPress migration services from experienced agencies to make a quick transition.
In this article, let’s look at the four crucial phases and the technical knowledge you might need to make the migration process smoother.
Prepare for migration
These foundational steps help you understand what aspects of your Sitecore website would be moved to Wordpress to ensure smooth migration.
1. Assess the current Sitecore website
Catalog all kinds of content items such as web pages, posts, videos, images, etc., present in your Sitecore CMS content hub. Creating a detailed content inventory will help you replicate the exact structure in WordPress while migrating content which will keep your audience’s experience consistent.
Keep the Sitecore website content inventory list handy throughout the various phases of CMS migration, particularly while transferring business media files.
Additionally, check if your Sitecore website has some custom functionalities set up based on your unique business needs. These functionalities could be web forms, e-commerce integrations, marketing automation, etc.
List all such functionalities that form an essential part of your Sitecore site’s digital business experience, whether created through custom code, APIs, or third-party marketing automation so that you can recreate them without missing a beat.
2. Plan your WordPress site structure
When transitioning from Sitecore to WordPress, it’s essential to consider key components like hosting, themes and plugins, and content structure. Exploring VPS hosting with cPanel can offer greater control and customization options, facilitating a smoother migration process and improved website management experience.
Consider a WordPress-managed hosting solution that will optimize your new website’s performance metrics, such as loading speed, through features such as automatic updates and specialized security features.
While making a choice, always look at the volume of content hosted on your website and the amount of traffic you usually get.
Based on the list of custom Sitecore functionalities you created earlier, look for equivalent WordPress plugins. At the same time, choose a malleable WordPress theme that makes it easy for you to present content as your chosen Sitecore templates.
Finally, create a logical hierarchy for your content based on its nature (static or dynamic), categories, and tags to help visitors navigate and search engine bots crawl through your WordPress site easily.
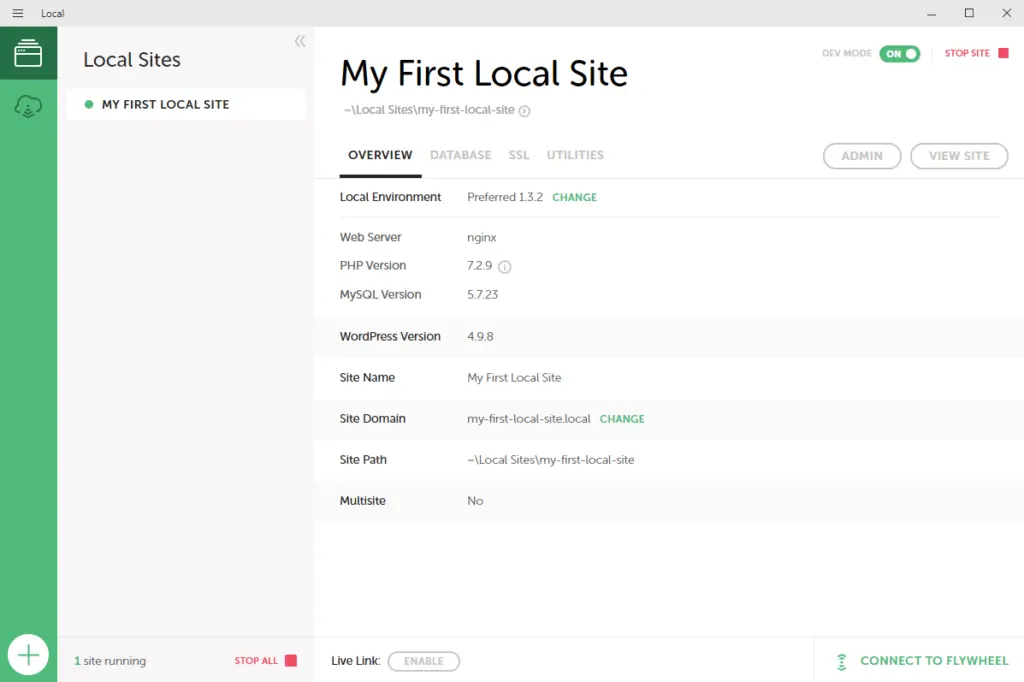
3. Set up a staging environment
A staging or local environment allows you to build and test your WordPress site without affecting anything on your current Sitecore site. Tools like XAMPP, MAMP, or Local by Flywheel (image below) can be used to create a live hosting environment on your local device.
Alternatively, you can also set up a staging environment on a unique server (which is offered by most WordPress hosting services).
Moreover, consider using services like Git to maintain a historical record of your Sitecore to WordPress migration process and collaborate effectively with team members. This will also help you revert changes if things go wrong without much hassle.
Execute the migration
After all the preparatory action items are checked off, this step of the migration process makes the transition to the open-source CMS.
1. Migrate the content
You can migrate to WordPress from Sitecore by moving your content manually or by automating the process. Manually transferring content, as you can imagine, is resource-intensive but gives you more control and flexibility over how your new website will appear.
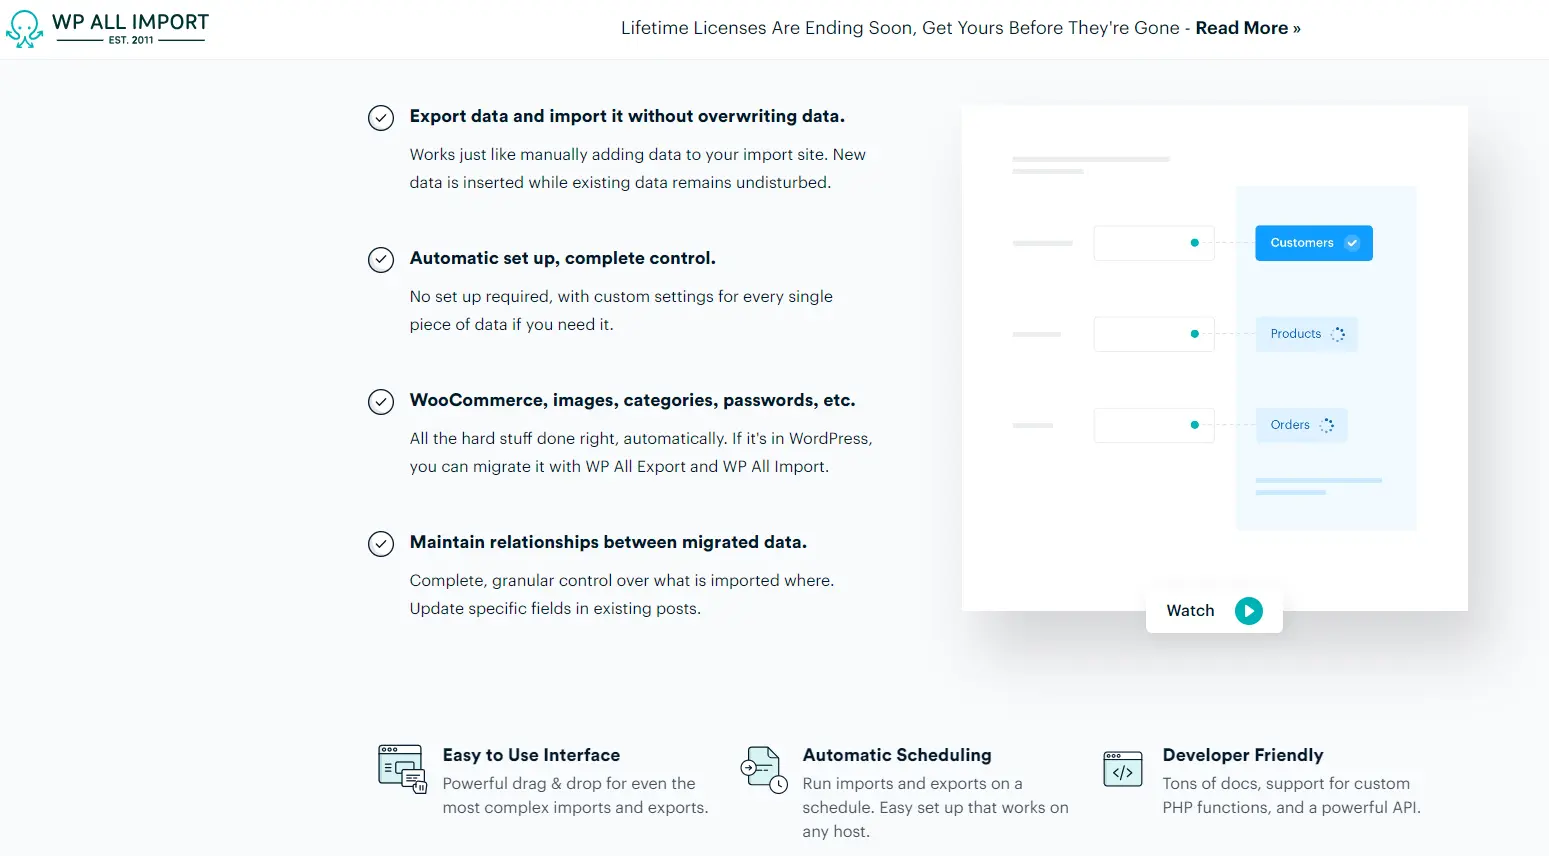
For larger websites with lots of diverse content, an automated migration with the help of a specialized express migration tool like CMS2CMS, WP All Import, or custom scripts is a better option. Incorporating sitecore development services can significantly streamline the CMS migration process, ensuring a seamless transition with minimal downtime.
Either way, do perform a check after the migration to ensure all your content, particularly media files and metadata (titles, descriptions, custom fields, etc.,) are properly moved.
2. Update design and functionalities
After moving your content and selecting a theme, utilize the theme-specific options to tweak the colors, fonts, and layout elements that mirror your Sitecore website. At this stage, you can also consider to give your brand’s platform a unique look.
Then, install various WordPress plugins and write custom PHP codes or tools to give your new website all the additional functionalities your Sitecore site offers to your audience.
While enhancing your website’s appearance and features, make sure to keep it mobile-friendly and cross-browser-compatible. This will allow you to deliver a great digital experience to your business prospects regardless of how they end up on your platform.
3. Test post-migration
You need to run three essential checks: functional testing, content validation, and performance testing.
Functional testing ensures all the interactive elements such as web forms, search options, navigation menus, and custom features work as they are supposed to. Here, you can create a detailed checklist for each of the interactive elements to keep your evaluation thorough.
Content validation focuses on the reading experience for the end-user. Look for broken links, pages, improper layouts, and broken media files and fix them accordingly.
Performance testing emphasizes the loading speed and responsiveness of your website. Tools like Google PageSpeed Insights can be great to know where you stand and what you can do to improve your loading speed. To enhance responsiveness, test your WordPress site’s interactive elements on different browsers and devices to isolate issues.
Launch your new WordPress site
Most of the heavy lifting should be done by now. In this step of the migration process, you perform a few final checks to ensure your new website works fine.
1. Pre-launch checklist
Before making the final switch, it is essential to keep a backup of your Sitecore and WordPress sites. Ideally, keeping multiple backups (cloud and local, for instance) is a good idea as it mitigates data loss risks.
Also, take a final look at your website’s content structure and links. Sometimes, while migrating lots of content, the URLs might change. If the original links are shared elsewhere, then it will take your audience to 404 pages which affects user experience and your domain rating.
Set up 301 redirects that connect the old URLs to the new ones and test them comprehensively before going live.
2. During the launch
To go live with your WordPress site, update the Domain Name System (DNS) settings so that it points to the newly created website rather than the previous Sitecore server. Head over to the domain registrar’s control panel and update the A record (sometimes CNAME) to direct it to the new IP address of your WordPress host.
Keep in mind that DNS changes can take anywhere between a few minutes to 48 hours to propagate globally and during this period some of your audience can get redirected to your Sitecore website.
Simultaneously, you can leverage tools like Google Analytics to map how visitors navigate through your website to detect usability issues before they start affecting your bottom line.
3. Post-launch activities
Changing your CMS may not change how your audience views or interacts with your website but it drastically modifies how your internal team creates and manages content. After you set your WordPress website live, collect feedback from your marketing team on how their experience has evolved.
Furthermore, you can keep an eye on how your visitors interact with your website through tools like Hotjar.
Getting feedback from internal team members and monitoring visitor behavior will highlight areas of improvement in your website.
Continually optimize your site
As we mentioned in the introduction, the needs and expectations of your audiences evolve with time, making the process of site optimization continuous. Here are two crucial things you need to keep in mind.
1. Improving website performance
Use plugins like W3 Total Cache and WP Super Cache to set caching rules for browsers that will store your site elements like CSS files and images locally. This way, the browser won’t need to download these resources each time they visit.
Additionally, you can optimize your pages further by using plugins like EWWW Image Optimizer and Smush to compress and resize images without diminishing their qualities. Moreover, techniques like lazy loading further make your website faster by loading components when they enter the viewport.
Finally, make it a habit to continually upgrade and maintain your WordPress site. Regular maintenance for WordPress websites is crucial not only for security but also ensures that you're maximizing the robust features of the CMS to keep your audience engaged and safe.
2. SEO and content strategy
The rules of search change with time with the challenges faced by your audience, making it essential for businesses to regularly take steps that keep their website search engine-friendly and content relevant.
You can start with plugins like Yoast SEO and Rank Math to find issues like broken links, missing meta descriptions, and poor keyword optimization. Furthermore, you can adopt plugins like AI Engine and AI Power, along with APIs such as a SERP API, to create and manage content in a streamlined way.
Wrapping up
Moving from Sitecore to WordPress helps businesses deliver better digital experiences to their customers while improving security and reducing costs. Usually, the migration process consists of four phases: preparation, execution, launch, and optimization.
The four stages ensure the proper migration of all kinds of content, thorough testing of the new WordPress website, and the creation of an environment that continually improves the website for search engines and end users.
All Access Subscription
Get free access to all 10 Learn Enough courses (including the Ruby on Rails Tutorial) for 7 days!
Free 7 Day trial details
We require a credit card for security purposes, but it will not be charged during the trial period. After 7 days, you will be enrolled automatically in the monthly All Access subscription.
BUT you can cancel any time and still get the rest of the 7 days for free!
All Learn Enough tutorials come with a 60-day 100% money-back guarantee.