Migrating Away from Webpacker: A Guide to Upgrading Your Rails 6 to Rails 7
Learn how to migrate away from Rails Webpacker as you upgrade your Rails 6 to Rails 7. Our useful guide covers every step on how to upgrade your Rails 6 to Rails 7 smoothly.
What is Webpacker?
Webpacker is the standard JavaScript compiler for Rails 6 apps. Webpacker will handle all JavaScript code and make it simple for a user to design, create, and optimize JavaScript applications.
Although Webpacker was the standard JavaScript runtime for Rails 6, Rails 7 no longer ships with Webpacker. So this calls out for an upgrade ASAP! How are you going to migrate from Rails 6 to Rails 7? Let's find out.
There are two ways to do the migration process. Those are:
-
Migrate from webpacker to jsbundling-rails
Jsbundling-rails is a gem that helps you set up webpack, which is a module bundler that lets you specify the dependencies for your application and generates a single bundle file that you can include in your app.
-
Migrate from webpacker to importmaps
Importmaps allow you to specify the location of imported JavaScript modules, making it easier to manage your code.
Which option you choose will depend on your specific needs and preferences. In this article, we will explore both options and help you decide which one is best for your application.
Migrate from Webpacker to jsbundling-rails
Migrating from Webpacker to jsbundling-rails can seem intimidating, but with this step-by-step guide, it's actually quite straightforward. Here's what you need to do:
Step 1: Install jsbundling-rails
In order to enable bundling, jsbundling-rails acts as an installer to set up webpack.
To add jsbundling-rails gem to gemfile:
gem 'jsbundling-rails'
(We generate a Gemfile to list the gem dependencies of Ruby applications. A gem is a grouping of Ruby scripts that may be extracted and called later as a "collection". It enables you to specify the gems and versions of those gems to use)
In the terminal, rebuild the bundle and create a baseline configuration:
./bin/bundle install
./bin/rails javascript:install:esbuild
Step 2: Switch pack_tag for include_tag
The javascript_include_tag is an HTML tag that is used to include JavaScript files in your application, while the javascript_pack_tag is a tag used by Webpacker to include JavaScript files in your application.
To switch from the javascript_pack_tag to the javascript_include_tag, you will need to find the javascript_pack_tag in your application and replace it with the javascript_include_tag.
The javascript_pack_tag is typically used in the application.html.erb file, which is a file that contains layouts for your application.
Here is an example of the javascript_pack_tag that you might find in your application:
Old Tag
<%= javascript_pack_tag 'application', 'data-turbo-track': 'reload' %>
To switch to the javascript_include_tag, you will need to replace the javascript_pack_tag with the following:
New Tag
<%= javascript_include_tag "application", "data-turbo-track": "reload", defer: true %>
The javascript_include_tag will include the new JavaScript entry point, javascript/application.js, in your application. This entry point is used by webpack to generate the bundle file for your application.
Step 3: Import Stimulus Controllers
Stimulus controllers alter the DOM without reloading the page completely.
To import stimulus controllers, run the install command in your terminal again to replace any conflicting modifications, even if you have already installed stimulus. This will accurately import every existing stimulus controller.
./bin/rails stimulus:install
After installing stimulus, run the following command to auto-generate the controllers/index.js file.
./bin/rails stimulus:manifest:update
This file is used by Stimulus to keep track of all of the controllers in your application. It's important to run this command after installing Stimulus to ensure that all of your controllers are correctly imported and registered.
Once you have imported your Stimulus controllers, you should be able to use them in your application to create dynamic, interactive features without the need for a full page refresh.
Step 4: Move the JavaScript entry point
The module that webpack should use to start constructing its internal dependency structure is indicated by an entry point. Webpack will identify the additional modules and packages that are required for that entry point.
To move the JS entry point, first replace the content from javascript/packs/application.js to javascript/application.js. This will ensure that webpack uses the correct entry point for your application.
Delete the javascript/packs folder which was used by webpacker, after replacing the file.
With a relative path, import directories in the javascript folder.
import"./channels"
import"./controllers"
Step 5: Remove Webpack from the application
This is an important step in the migration process, as it will ensure that your application is fully freed from Webpacker and that the upgrade to Rails 7 works error-free.
1. Remove webpacker gem from your gemfile. The gemfile is a file that lists the gem dependencies of your application. To remove the webpacker gem, simply delete the line that includes it in your gemfile.
- gem 'webpacker'
2. Remove all webpack packages, plugins, config files, and start-up files. This will ensure that your application is completely free from Webpacker. Here is a list of the files and directories that you will need to delete:
./bin/webpack
./bin/webpack-dev-server
./bin/webpack-cli
./config/initializers/webpacker.rb
./config/webpacker.yml
./config/webpack/development.js
./config/webpack/environment.js
./config/webpack/production.js
./config/webpack/test.js
@rails/webpacker
Step 6: Configuring GitHub Actions for the upgrade
GitHub Actions is a tool that allows you to automate your software development workflows.
If you use GitHub Actions to run your tests, you will need to include a second build step to run yarn build in order to bundle all of your JavaScript scripts before running the tests.
The build step specified in your package.json file will be triggered by yarn build.
To include this build step in your workflow file, you will need to add the following code:
name: Build Esbuild
run: yarn build
This code will create a build step called "Build Esbuild", which will run the yarn build command when triggered. The yarn build command will run the build step specified in your package.json file, which will bundle all of your JavaScript scripts into a single file.
By including this build step in your workflow file, you can ensure that all of your JavaScript scripts are properly bundled before running your tests.
This will help to prevent any issues that may occur during the testing process and ensure that your application is fully upgraded to Rails 7.
After completing these first 6 steps, you should have successfully migrated from Webpacker to jsbundling-rails in your Rails 6 application. Your application should be fully upgraded to Rails 7, and ready to use jsbundling-rails to handle your JavaScript code.
It's important to note that this process may involve some trial and error, as every application is unique and may have different dependencies or configurations.
However, by following these steps carefully and making sure to test your application thoroughly, you should be able to successfully migrate from Webpacker to jsbundling-rails and upgrade your application to Rails 7.
Migrate from Webpacker to importmaps
This is a significantly lighter solution for applications that mostly rely on external scripts.
Step 1: Install Importmap
Delete the webpacker gem from your gemfile and add the importmap-rails gem.
Delete the javascript_pack_tag line from the application layout in app/views/layouts/application.html.erb.
Use the below command to run the importmap installer.
./bin/rails importmap:install
This will create the following new files.
app/javascript/application.js: Entrypoint for your javascript code and this is used to import libraries.
config/importmap.rb: Contains URLs to the libraries you use in your app such as jQuery, Turbo.
Remove the old pack file and move the custom code into the new file.
With webpacker, custom code was located in app/javascript/packs/application.js, but with importmaps, this has been updated to be app/javascript/application.js.
Importmaps might not be for everyone, but there is a workaround. For more insight, watch the following video from Winston Codes On.
Step 2: Migrating dependencies
In this step, we will be migrating dependencies from package.json to importmap.rb. With importmaps, dependencies are now automatically downloaded by the browser and are managed using a file called "importmap.rb" instead of being listed in package.json.
Run the following command to add dependencies to importmap.
./bin/importmap pin jquery
This will automatically add the CDN-URL of jQuery into importmap.
Next, delete the package.json and the node_modules folder.
Step 3: Migrating from turbolinks to Turbo
Turbolinks is a JavaScript library that allows you to automatically perform certain actions on your website when you navigate between different pages.
This can help to improve the performance of your website and make it feel more responsive. However, Turbo is an alternative to Turbolinks that is designed to be even faster and more efficient.
Delete the turbolinks gem from your gemfile and replace it with turbo-rails.
import "@hotwired/turbo-rails"
Step 4: Migrating Stimulus
Stimulus is a JavaScript library that allows you to add interactive behavior to your web applications without reloading the page.
It does this by altering the Document Object Model (DOM) in the browser, which is the structure of the web page that represents the content and layout of the page.
Add stimulus-rails to the gemfile.
./bin/rails stimulus:install
This will create the app/javascript/controllers directory automatically, import the controllers in app/javascript/application.js andpin the stimulus dependency in config/importmap.rb.
Move any existing Stimulus controllers from their current location to app/javascript/controllers.
Upgrade Rails 6 to Rails 7
Upgrading a Rails application requires careful planning and execution, as different versions of Rails may have different setup defaults and may deprecate certain features.
In order to upgrade an existing application to Rails 7, you'll need to have Ruby 2.7.0 or newer installed.
Here are the steps to consider when upgrading a Rails application to version 7:
Step 1: Update rails in gemfile
To identify the current version of your application, you can use the below command.
rails --version
To update the Rails gem to the latest version, add the following line to your Gemfile:
gem 'rails', '7.0.0'
Run the following command in the terminal to replace the current version.
bundle update
Step 2: Run the update rails tasks
rails app:update
This will start an interactive session where it will create new files and update existing ones to make your application compatible with the newer version of Rails.
During this process, you will be asked to review and confirm the changes that will be made to your application. It's important to carefully review these changes, as they may affect the functionality of your application.
Once the update process is complete, you should test your application to ensure that it is still functioning as expected. If you encounter any issues, you may need to make additional changes to your application to resolve them.
Step 3: Verify framework defaults
It’s possible that the new Rails version will have different setup defaults than the old version. Rails creates a new_framework_defaults_7.0.rb file to help you to upgrade the new default settings one-by-one.
You can go through this file and update your application's configuration accordingly. Once you have made all the necessary changes, you can delete this file and flip the config_load_defaults value to activate the new configuration defaults.
- Activate the new configuration defaults by uncommenting these settings in the file.
Step 4: Add Sprockets
Sprockets is basically a Ruby library. This is used to create and deliver web assets. It has a sophisticated preprocessing pipeline that enables you to create assets in scripting languages including Sass and SCSS.
This is an optional dependency, but it can be useful for creating and managing assets in your application.
Add Sprockets to the gemfile to enable its features.
gem "sprockets-rails"
Once you have added this line, you can run bundle install to install the Sprockets gem and all of its dependencies. With Sprockets installed, you can then use its features to manage and create assets in your application.
This can be particularly useful if you are working with complex stylesheets or JavaScript code that requires preprocessing before it can be used in your application.
Step 5: Verify depreciated methods
Ruby 7 has depreciated some features from Ruby 6., so you need to verify and identify any depreciated methods in your application.
This is important because using depreciated methods can potentially break your application or cause it to function improperly.
To do this, you can use the Rails Upgrade Guide, which lists all of the depreciated methods and provides guidance on how to update your code to use the newer, supported methods.
You can also use a tool like the Ruby Deprecated Finder to automatically scan your codebase and identify any depreciated methods that you might have missed.
Final Thoughts
There are numerous advantages you will have when using the latest version of Rails.
The most recent versions' new tools and resources will be utilized by your development team and the application will be faster, more optimized, and more secure for the end users.
In the 2000s, Ruby on Rails first became popular. Since then, it has had a significant impact on web app development.
This is primarily due to its novel features, which include migration, scaffolding for views, and the seamless construction of database tables.
These capabilities have facilitated the development of applications more quickly. Learning Ruby on Rails is beneficial for a variety of reasons.
About Learn Enough
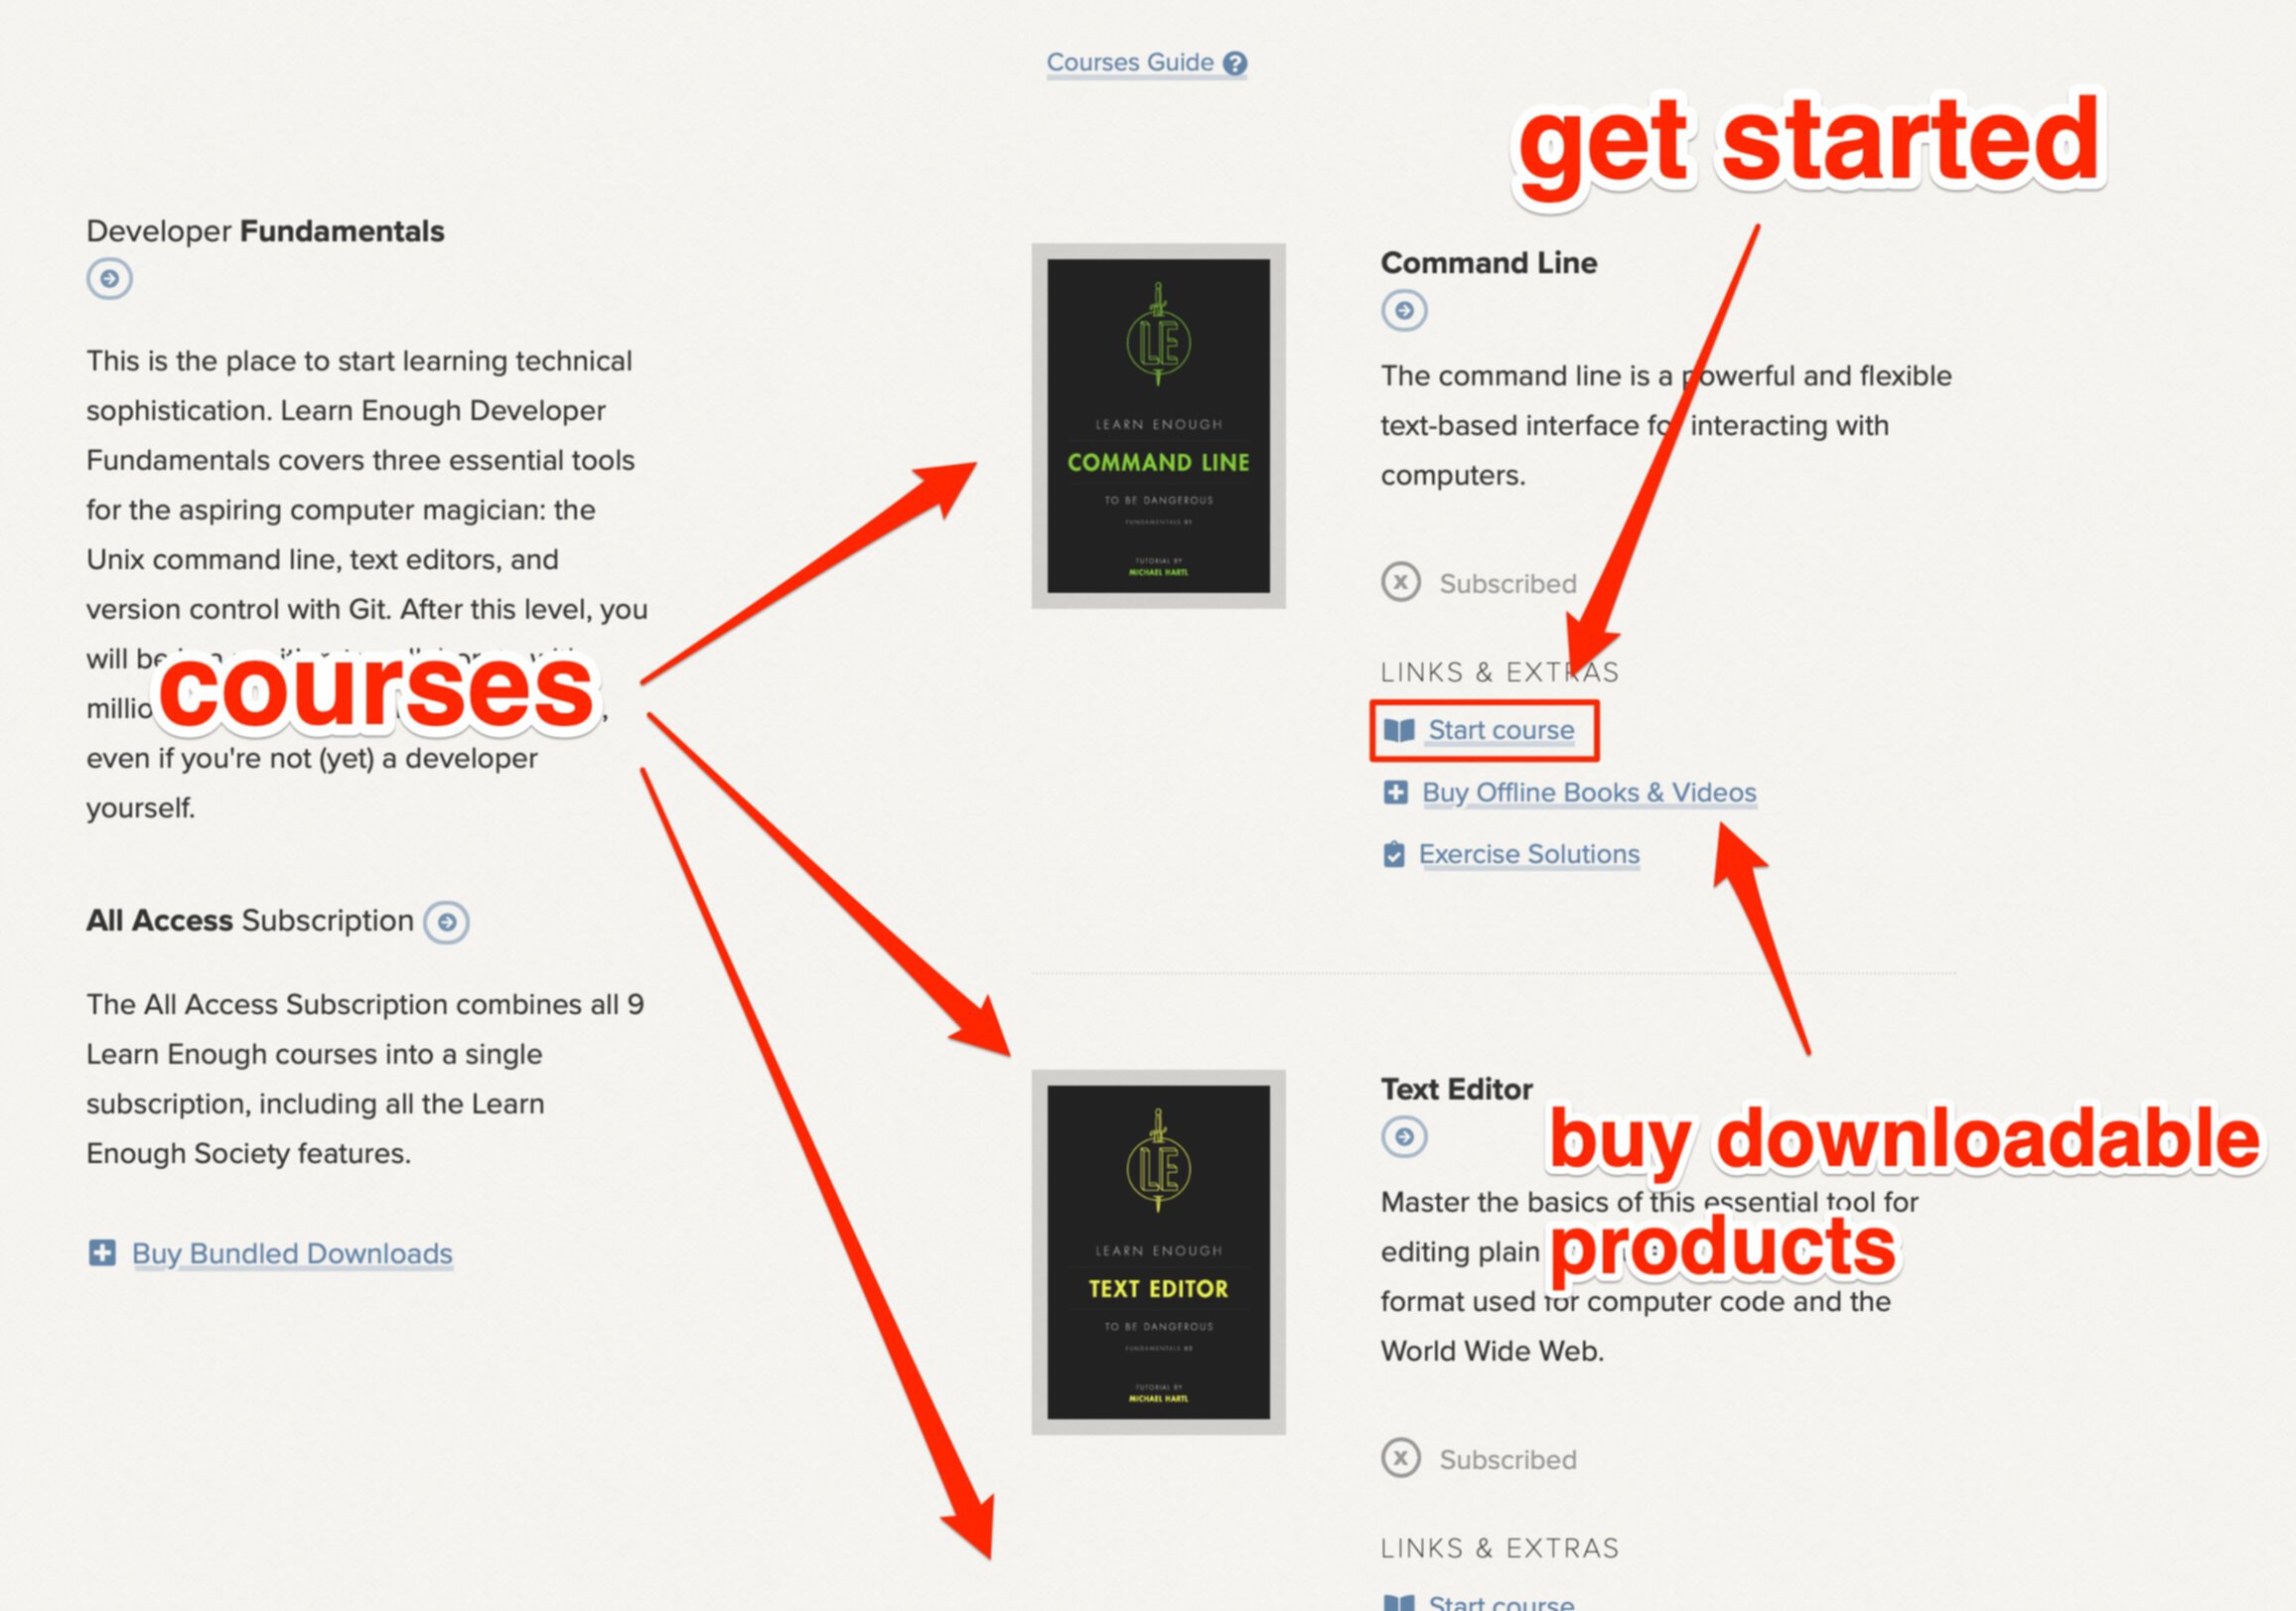
At Learn Enough, we provide a carefully designed course to take you from a beginner to a professional-grade developer.
Every Learn Enough All Access subscription includes the Ruby on Rails Tutorial, the leading introduction to web development with Rails for over ten years.
If you manage a team of developers, Learn Enough for Teams boosts the skills of your junior devs and gets your senior devs quickly up to speed with the latest version of Ruby on Rails.

All Access Subscription
Get free access to all 10 Learn Enough courses (including the Ruby on Rails Tutorial) for 7 days!
Free 7 Day trial details
We require a credit card for security purposes, but it will not be charged during the trial period. After 7 days, you will be enrolled automatically in the monthly All Access subscription.
BUT you can cancel any time and still get the rest of the 7 days for free!
All Learn Enough tutorials come with a 60-day 100% money-back guarantee.